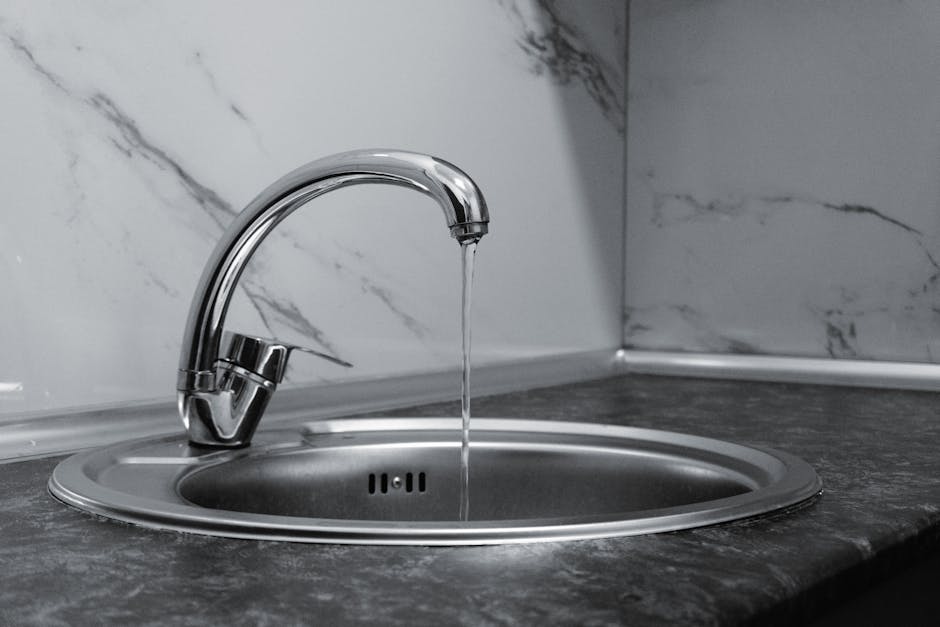
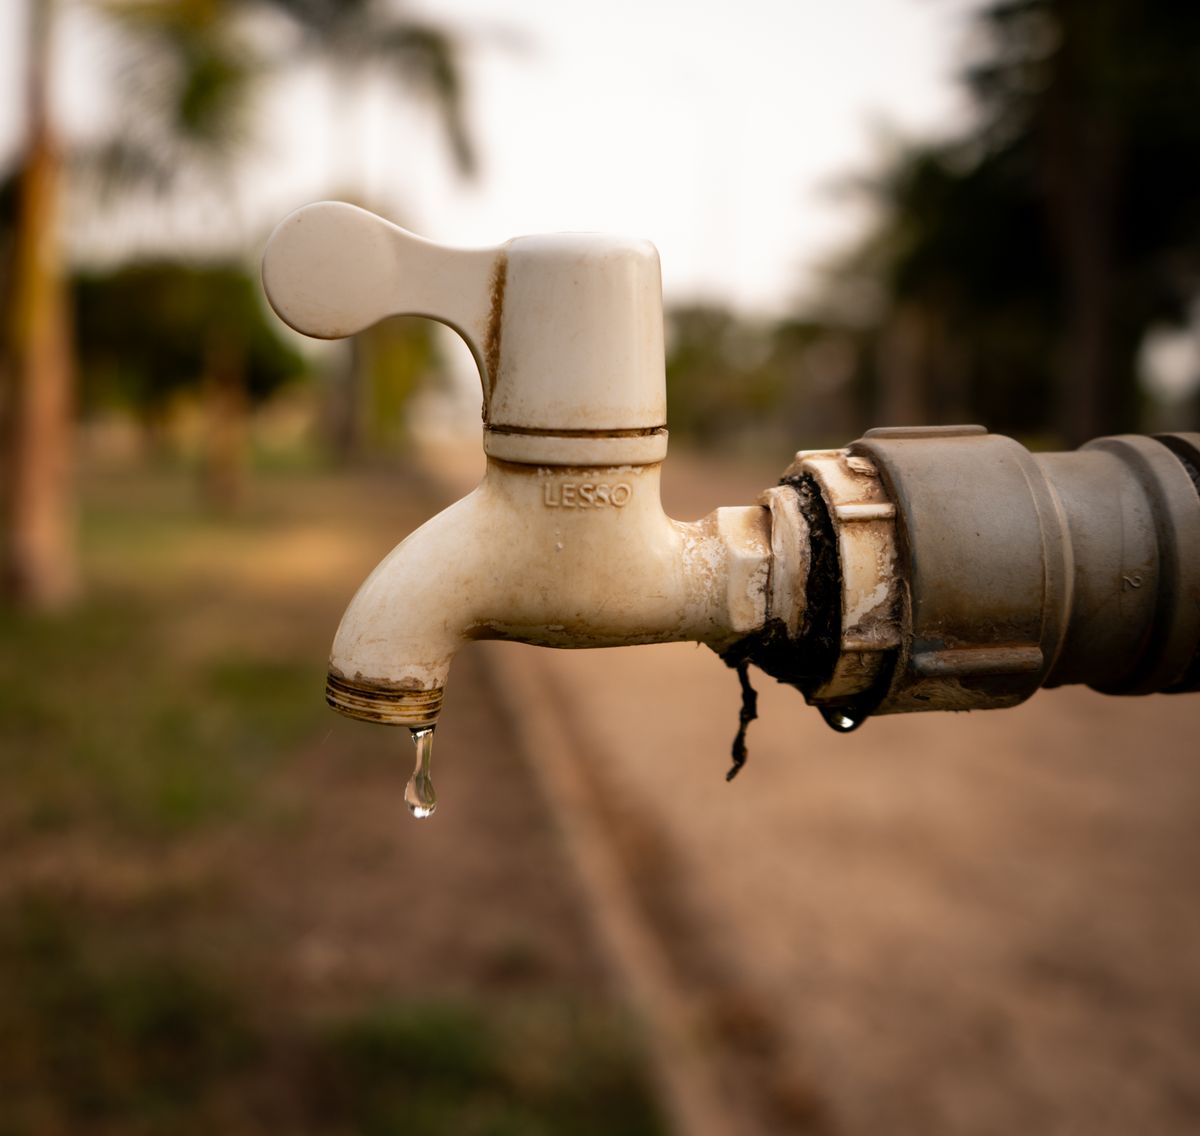
That constant drip-drip-drip from your faucet? Yeah, that’s literally money going down the drain. A single leaky tap can waste over 3,000 gallons a year. It’s annoying at 2 AM, and it’s eating into your wallet while you’re sleeping. But here’s the good news—why pay a plumber $150-300 when you can fix this yourself?
Contents
Most people don’t realize how simple faucet repairs really are. We’re talking cheap internal parts that cost less than $10 and wear out naturally over time. Whether you’ve got a compression faucet, ball-type, cartridge, or ceramic disk—the fix works pretty much the same way. Give yourself two hours max, and you’ll knock this out while building real confidence for tackling other DIY stuff down the line.
What You Will Need
- Adjustable wrench or channel lock pliers
- Flathead and Phillips head screwdrivers
- Needle-nose pliers
- Flashlight or headlamp for better visibility
- Replacement parts (O-rings, washers, cartridge, or valve seats depending on faucet type)
Understanding the Problem
Here’s what people get wrong—they think faucet leaks are some big mystery. They’re not. Your tap’s got seals, gaskets, and moving parts that eventually wear out after thousands of open-and-close cycles. Hard water makes it worse by leaving mineral deposits that act like sandpaper on those delicate rubber components.
Each faucet type breaks down differently, but the root cause is always the same. You’ve got internal pieces that create watertight seals. When those seals crack or shift, water finds its way through. Compression faucets (super common in older homes) use rubber washers pressing against metal seats. Ball faucets spin a perforated sphere to control the water. Cartridge models slide a stem or use ceramic plates to do the job.
Quick diagnostic trick: water dripping from the spout means seal problems inside. Leaking around the handle base? That’s usually packing nuts or the stem acting up. Skip the guessing game and nail down exactly where your leak’s coming from before you start taking things apart.
Turn off the water supply first. Seriously, I can’t stress this enough—skip this and you’ll have an expensive indoor water fountain on your hands. Throw a towel in the sink too. Trust me, you don’t want to spend an hour fishing tiny screws out of your P-trap.
Step-by-Step Fix
Look under your sink for those shut-off valves—you’ll spot two of them, one for hot and one for cold. Turn them clockwise until they won’t budge anymore. Can’t find them? Just shut off your main water valve instead. Test it out by turning your faucet handles—no water should come out. Plug up that drain right away (seriously, it’ll save you a headache later). Take a quick photo of the whole setup before you start taking things apart. When it’s time to put it back together, you’ll be really glad you did. Get your workspace cleared and make sure you’ve got good lighting—you’re about to deal with tiny pieces smaller than your pinky.
Gently pry off any decorative caps or buttons—most of them just snap off. You’ll find your handle screw underneath. Remove it carefully. Some faucets have retaining nuts instead of screws, so don’t worry if you don’t see a screw head right away. Pull the handle straight up once you’ve got that fastener out. Stuck? Mineral buildup’s probably your culprit. Wiggle it while pulling, or use some penetrating oil if you’re dealing with serious corrosion. Lever handles sometimes need to be in a specific position before they’ll come loose. Keep track of which pieces came off in which order—these parts care about how you put them back together.
See that hexagonal nut? That’s your packing nut. Turn it counterclockwise with your wrench, but go easy—you’ll strip the threads if you crank too hard, and that turns a simple fix into a costly nightmare. Once it’s loose, most stem assemblies unscrew by hand. Compression types just lift right out. Cartridge styles need some firm pulling, maybe with pliers for better grip. Watch for retaining clips that need to come off first. Pay attention to which way the stem’s pointing—install it backwards and you’ll switch hot and cold, which is pretty awkward in the shower.
Time to play detective. Look at every piece for signs of wear—cracked rubber, hardened washers, corrosion, or damaged threads. That bottom washer on the stem? That’s usually the main culprit causing the drip. Use needle-nose pliers or a small screwdriver to pop out the old washers and O-rings. Don’t scratch the metal while you’re doing it. Here’s what separates people who succeed from those who don’t: take those old parts to the hardware store with you. Size really matters in plumbing work. Use an old toothbrush and white vinegar to scrub off mineral buildup from the metal pieces. If the valve seat’s pitted, you might need a professional to resurface it or just replace the whole faucet.
Slip the new washers and O-rings into place, making sure they sit properly in their grooves. Put a thin layer of plumber’s silicone grease on the O-rings—it stops them from twisting and rolling during installation. For cartridges, orientation matters big time. Look for alignment notches or flat spots that match up with the faucet body. Never force anything. If you feel resistance, you’re probably not lined up right. Once everything slides in smoothly, hand-tighten that packing nut first, then use your wrench to snug it down. Over-tighten and you’ll crush those O-rings, which creates brand new leak spots.
Put everything back together in reverse order. Make sure your handle lines up with the stem correctly—bad alignment causes operational headaches. Tighten all the fasteners and snap the decorative pieces back on. Now comes the moment of truth: turn the water back on slowly and test everything. Run both handles through their full range. Check hot and cold flow. Let it run for a bit, then shut it off completely. A couple drops right after shutting off is totally normal. If it keeps dripping steadily, you might need to tweak the packing nut a bit or reposition the stem.
Getting a faucet repair right isn’t about speed—it’s about taking your time, preparing properly, and grabbing the right parts on your first trip instead of making multiple runs to the hardware store.
Pro Tips for Best Results
Don’t guess on replacement part sizes. Bring your old pieces to the store—washers and O-rings come in tons of different sizes. Wrong size equals a leak that keeps going. Grab a couple extras while you’re there too. These parts cost almost nothing, but having spares keeps you from panicking if something goes wrong later. Most stores sell complete repair kits with a bunch of different sizes mixed in.
Use plumber’s grease lightly on O-rings and moving parts, but keep it away from washers and valve seats where it picks up debris. The grease stops O-rings from twisting when you install them—twisted O-rings leak right away. No plumber’s grease around? A tiny bit of petroleum jelly works in a pinch. Skip the soap or random lubricants since they break down rubber over time.
When to Call a Professional
Sometimes DIY isn’t the answer. Cracked valve seats that need special resurfacing tools? That’s pro territory. Same with damaged faucet bodies, corroded parts, or leaks in the supply lines themselves. If water keeps flowing even with your main valve shut off, you’ve got something bigger than a worn washer.
Red flags that tell you to call someone: stripped threads, pressure problems affecting the whole house, or that “simple” leak that reveals major damage underneath. Fixed it perfectly but the leak’s back within a few weeks? Water pressure issues, mineral buildup, or an old faucet ready to retire might be the real problem. A pro plumber can figure out what’s really going on and fix it so it doesn’t happen again.
- Most faucet leaks come from worn washers, O-rings, or cartridges that cost under $10 and take 30-90 minutes to swap out.
- Always turn off the water before you start and snap a photo of everything before disassembling so you know how to put it back together.
- Take your old parts to the hardware store to get the exact right replacements—sizes and types vary a lot.
- Rub some plumber’s grease on O-rings when you install them to keep them sealed and moving smoothly.
- Call a plumber if you’ve got cracked valve seats, corroded faucet bodies, or leaks that keep coming back after you’ve fixed them.